Wednesday 8 January 2014

Altered Box

Dear Bloggers

This is my first post in around nine months - hope you like it; it is a pencil box for my daughter - each side of the box has been decorated differently with a steampunk/vintage feel.  Hope you like it.  Any questions about products - please email me.

Lilygee xxxx


Monday 8 April 2013

Prize Draw Winners for the CE Sheer Inspiration Blog Hop

Good Morning Dear Blog Friends

Just a quick post to let you know that the prize draw winners for our blog hop have now been announced over at The Creative Expressions News Blog .  Congratulations to all the winners and thanks to everyone who participated and to the Design Team for taking the time to create those  gorgeous, inspirational projects for us.

Wish you all a lovely day.

Lol Lilygee
xxx

Saturday 6 April 2013

Silence is Golden

Good Morning Dear Blog Friends

Firstly thanks to all of you who have taken the time to comment on the posts the CE Design Team put up for the  CE Sheer Inspiration Blog Hop.  It was really nice to hear all of your encouraging comments and ideas and to see  some new followers on the blog.  Some of you were even kind enough to give me some ideas too about using the ribbons.  I hope you will continue to visit us and I know you will continue to find a lot more inspirational projects.  A tutorial for the ribbon bag will follow sometime next week but for today I am posting another project.

I started off by cutting the largest of Spellbinders Grand Labels 23 in white card.  I followed it up with a layer of gold and then blue card with pierced edges.  I then cut the largest of Spellbinders Card Creator Locking Loops with one of the smaller dies in the set to form a frame in gold cardstock. The smaller die was cut in half and used at the top and bottom of the card.  I used Spellbinders Fancy Lattice Die inside the frame backed on to some white card.  I added some quilled flowers and leaves, a couple of ribbon roses and a rolled felt flower.  I added some coloured mosses and a sentiment, some ribbon and a key.


Wishing you all a very pleasant weekend.

Lol Lilygee
xxx

Wednesday 3 April 2013

Creative Expressions Sheer Inspiration Blog Hop


Welcome Dear Blog Friends to the CE  Sheer Inspiration Blog Hop launched from the CE News blog.  if you've come here from Trish's blog  you are in the right place. The blog hop runs from today,Wednesday 3rd April 10am with a prize worth around £15.00 for each blog and a special spot prize post on Kim Dellow's blog on Friday 5th April.  The hop will close and prize winners will be announced on Monday 8th April on the CE News blog.  In order to enter the prize giveaway you must leave a comment on all eight blogs and for the separate Spot Prize you must leave a comment on Kim's blog on Friday 5th so don't forget to check DT member, Kim Dellow's blog on Friday for a special prize  The order of the hop is listed here: 


Here is my make for the DT ribbon challenge:


The ribbons were woven and attached to a sturdy piece of nylon felt; soft wool felt is not suitable for this project.  If you wish to use a piece of fabric instead you may do so; I used the felt because it gives the bag a nice padded base to attach the ribbons to.  The ribbons were attached using a hot glue gun and then sewn on to a backing for the bag.  A tutorial will follow next week for step by step instructions.


The flower was made by attaching twisted ribbon to a small round of felt and glueing the ribbon in place with a hot glue gun.  Add a rhinestone, pearl or whatever you fancy, to your flower.


Be sure to purchase 2 full rolls of ribbon.  This bag measures approximately  6 1/2 x 7 1/2 inches but you would be able to get a much larger bag from the two rolls, each has 5 yds. 


Hope you like it and enjoy the blog hop.  Your next blog in the hop is Trace Metcalfe

Lol
Lilygee
xxx


Sunday 31 March 2013

Simply the Best

Good Afternoon Dear Blog Friends

I've gone for black and white today - sorry I haven't done anything for Easter but I wish you a wonderful Holiday and hope you are enjoying your time with family.

This card was made primarily using one of Spellbinders Card Creator Dies and the Venetian Accents.

I'm not going into detail but it is a thank you to my three wonderful children for their love and support over the past months and particularly over the last few weeks. Just posting!  

Wishing you all a  a great day.


Lol Lilygee
xxx

Saturday 30 March 2013

Rose Corner Card DT 2 for Creative Expressions

Good Morning Dear Blog Friends

Here is my second make this month for Creative Expressions using the mounted  Rose Corner Single Stamp.  I have also used The Rambling Rose A5 Stamp Plate.

But first let me remind you of the details for our first blog hop launching from the CE News Blog on 3rd April.  All the members of the DT will be taking part and have been challenged to make an inspirational project using some really beautiful ribbons.  The blog hop runs from Wednesday 3rd April 10am with a prize worth around £15.00 for each blog and a special spot prize post on Kim Dellow's blog on Friday 5th April.  The hop will close and prize winners will be announced on Monday 8th April on the CE News blog.  In order to enter the prize giveaway you must leave a comment on all eight blogs and for the separate Spot Prize you must leave a comment on Kim's blog on Friday 5th so don't forget to check DT member, Kim Dellow's blog on Friday for the special prize.  The order of the hop will be posted on each blog so you won't get lost.  

Here's today's make


I used the roses and leaves from  the Rambling Rose A5 Stamp Set with distress ink Tea Dye for my background card and also inked the edges with the same colour.  I embossed the background with 


The corner rose was stamped with tea dye distress ink and embossed with copper embossing powder.  I used spun sugar distress ink to add a little colour to the rose and shabby shutters for the leaves.  I tore the card and distressed it with tea dye.  I cut a tag and stamped the sentiment from the Rambling Rose Set several times with tea dye.


I added some ribbon and a flower made with American Seam binding in Moss Green and added a rhinestone.  I added a little lace from my stash.


Hope you like it.

Have a great day and a lovely weekend.


Lol Lilygee
xx


Saturday 23 March 2013

DT Project 1 Celtic Feather

Good Afternoon Dear Blog Friends

Wishing you all a relaxing and enjoyable weekend.  Here is my first DT creation this month for Creative Expressions.  This card was made using one of the new range of single stamps designed by Sue Wilson.  All these stamps coordinate with a Spellbinder die and the one I used here: Celtic Feather (image below) co-ordinates with the large die in Spellbinders Celtic Motifs.  I also used Spellbinders Celtic Accents (see pic below


Celtic Feather Precut Stamp co-ordinates with S5-163
Celtic Feather
Spellbinder Celtic Motifs Die
Celtic Motifs
Spellbinder Celtic Accents Die

Celtic Accents

I stamped and embossed four panels using parts of the Celtic Feather stamp.  I used perfect medium and white embossing powder.  The panels were then dry embossed using Creative Expressions Flourish Embossing Folder.


I cut a square using one of the smaller squares from 
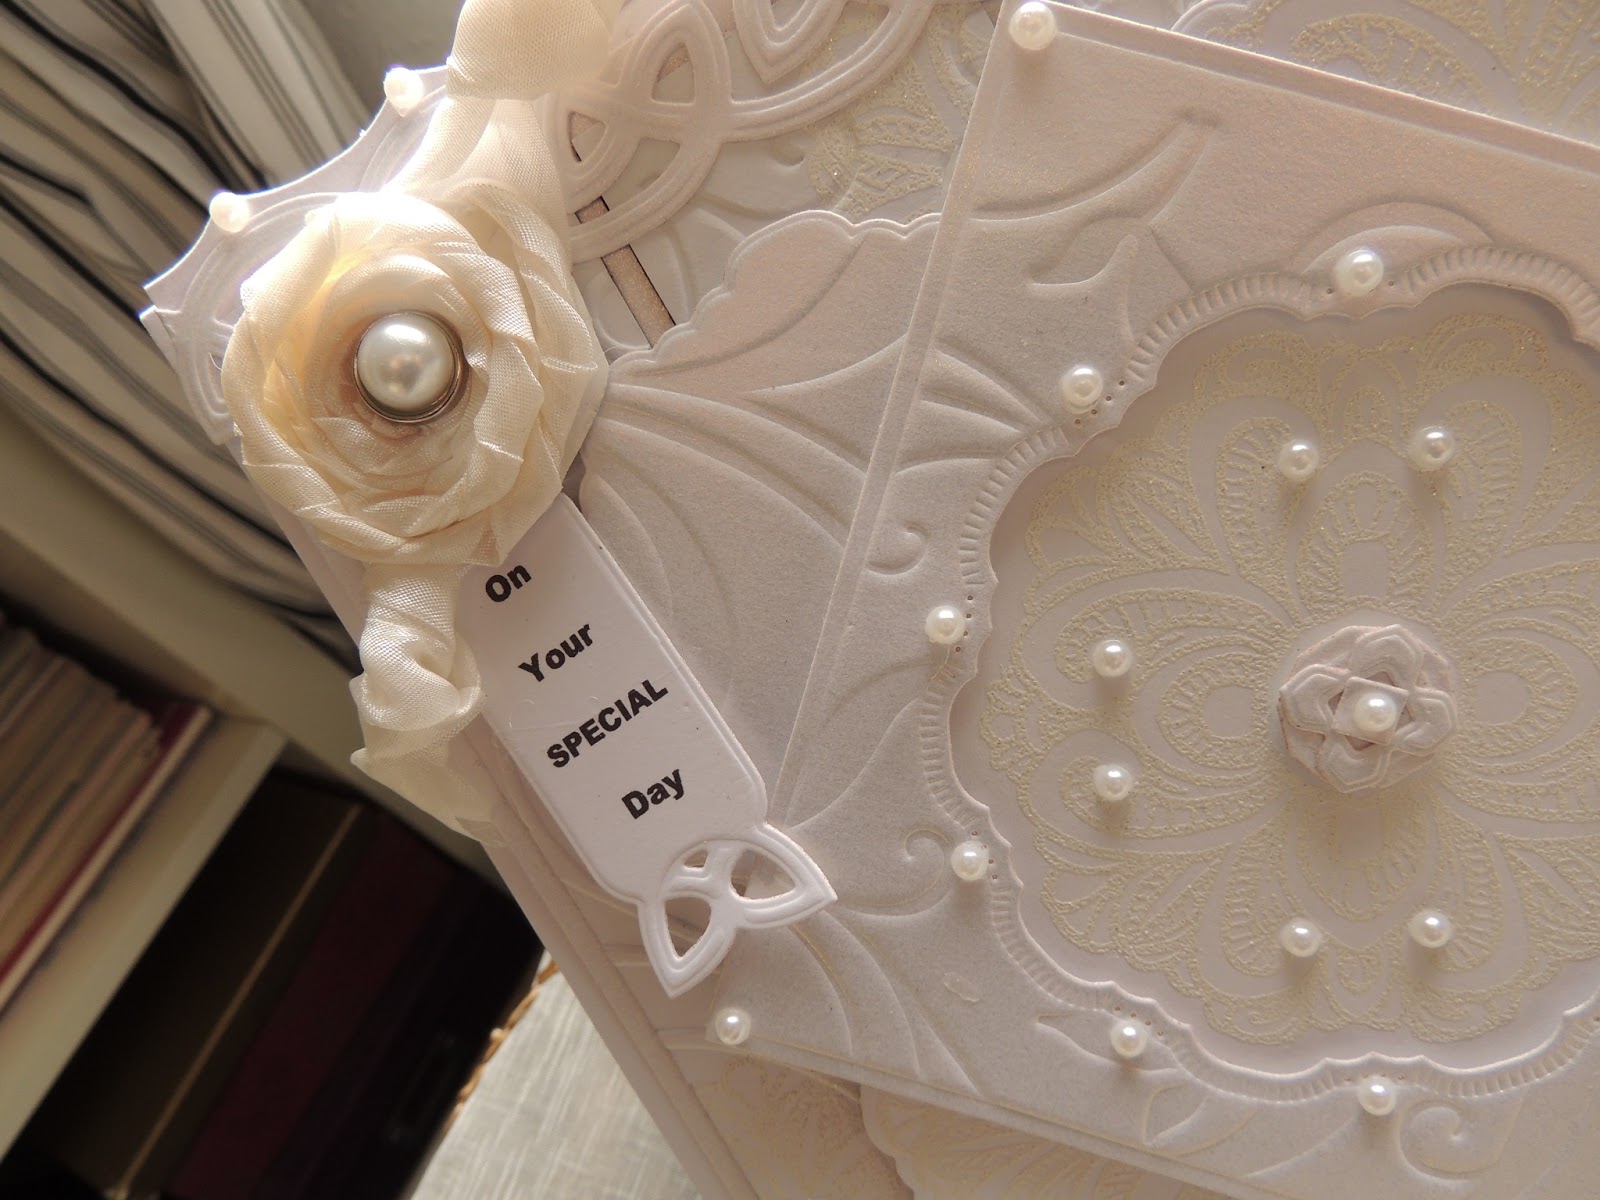
Spellbinders Grand Squares and cut the large Celtic Motif from the centre of the square.  with the die still in place I used the Flourish embossing folder to create the central piece of the card.  The embossing folder was left open and the sandwich was shimmed with cardstock to make up for the thickness of the open folder.  I stamped and embossed the feather on to cardstock, cut it out with a square border, placed it behind the negative and rotated it until it matched the negative piece. 


I used  two of the cut out central motifs, one stamped and embossed and cut in two, another dry embossed with the same embossing folder and cut in two, then used them around the sides of the central motif.  I added some pearls and cut the small dies from the Motifs and Accents and placed them in the centre.

     
                         I added a twisted ribbon and ribbon flower made from Ivory Silky Crush Ribbon.
And used  the tag die for the sentiment


I added the Celtic Accents top and bottom of the card and edged the card with the pieces left over from cutting the Celtic Accents.